5 Arcade Design Fidelity Tips from 12 Design
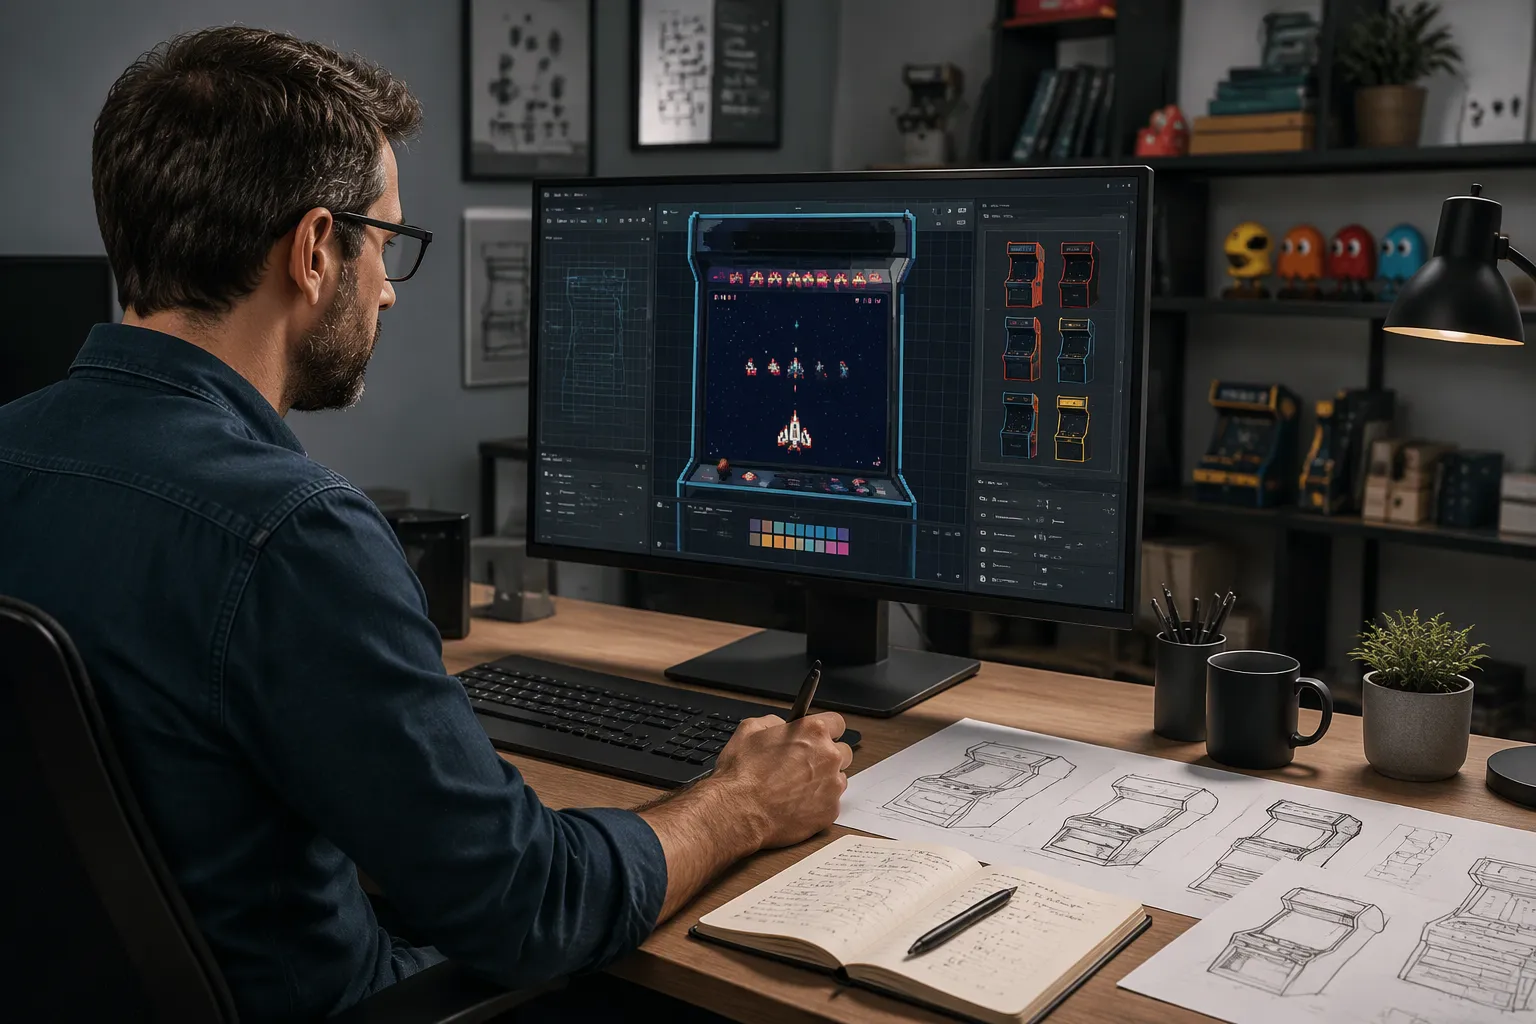
A render can look flawless and still miss the built cabinet. High-fidelity arcade design starts with the build itself: true material properties, exact joinery, physically accurate lighting, real-world wear, and physical mockups. Each of these five tips closes a specific gap between what your render shows and what the finished cabinet actually looks like.
Key Takeaways
- Measure real materials like laminate and powder coat. Use those exact values in your render for realistic sheen and texture.
- Model joinery details like T-molding and panel seams accurately. This makes your render look like a real cabinet.
- Use real light measurements and add subtle wear. Validate your design with physical mockups to catch errors early.
Tip 1: Model True Material Properties for Arcade Design
Match Sheen, Texture, and Finish to Real Stock
Start with the physical sample. Measure the laminate, the powder coat, and the vinyl wrap before you open your render software. Record gloss level, surface grain, and finish type. A satin melamine panel and a gloss acrylic panel share a color, but they reflect light in completely different ways. Your arcade design should carry those measured values into the shader, not a guess.
Why Material Accuracy Drives Realism
Texture and material representation predict perceived realism better than geometry detail. Research published in the Journal of Imaging found that viewers notice texture degradation more readily than geometry simplification at the same level of detail. The same study reports that surfaces appearing too smooth or too idealized read as unnatural. Gloss and roughness also interact: inconsistent combinations of the two reduce believability even when each cue looks plausible alone. For arcade design, this means a perfectly smooth control panel undermines the render faster than a simplified cabinet shape.
How to Apply It in Your Render Setup
Calibrate roughness maps so surface variation stays within 0.15 roughness units, following PBR guidelines from Threedium. Test specular behavior under controlled lighting at 3200K, then repeat under 5500K daylight. Flag dielectric albedo values above 240 sRGB and metallic values below 180 sRGB. Firms like 12 DESIGN treat these checks as a standard step before any render leaves the studio. You can review their process at www.12design12.com.
Tip 2: Replicate Exact Construction and Joinery
Model T-Molding, Edges, and Panel Seams
Pull the actual cabinet drawings before you model a single edge. Measure the T-molding slot depth, the panel thickness, and the reveal between adjacent panels. A standard 18mm panel with 3mm T-molding creates a specific shadow line at the seam. Your render needs that same geometry. Model the slot, the barb, and the rounded crown as separate elements. Then check the seam gap against your build sheet. A 2mm gap reads differently than a 5mm gap under raking light.
Why Joinery Details Sell the Build
Joinery tells the viewer how the cabinet goes together. Visible seams, edge banding, and fastener locations give the eye a construction logic to follow. When those details match real fabrication methods, the render stops looking like a picture and starts looking like a product. Inconsistent joinery breaks that logic fast. A floating panel or a missing T-molding groove signals a modeler who never handled the stock. Studios like 12 DESIGN build joinery checks into their review process for exactly this reason. You can see the standard at www.12design12.com.
How to Apply It Without Overmodeling
Model what the camera sees and what the light touches. Skip internal brackets, hidden cleats, and fastener heads behind closed panels. Use a chamfer or a bevel to suggest an edge instead of full boolean geometry. Keep your seam count honest, but do not chase every screw hole. A clean, accurate shell with correct reveals outperforms a dense mesh with wrong proportions every time.
Tip 3: Use Physically Accurate Lighting and Reflections in Arcade Design

Match Real Light Sources and Control Rooms
Walk the venue before you light the scene. Count the fixtures, note their positions, and record the color temperature of each source. An arcade floor mixes cool LED strips, warm incandescent marquee bulbs, and screen glow from cabinets. Your render needs that same mix. Control the room too: block daylight spill, set the ambient level low, and let the cabinet lighting carry the scene. A flat, evenly lit room kills the contrast that real arcades depend on.
Why Reflection Behavior Reveals Fidelity
Reflections expose whether your model understands its own surfaces. Research on neural rendering posted to arXiv shows that reflective materials such as glass, mirrors, and display screens break reconstruction pipelines. Those systems mistake reflections for geometry, and the error shifts with every viewpoint. Perceptual metrics tell the same story. The same study found that LPIPS tracks human judgment of reflective detail better than SSIM, which penalizes faithful highlights for lacking structural similarity. Gloss perception research collected by PMC confirms that observers combine highlight, color, and luminance cues to judge surface finish. Get the reflections wrong, and viewers sense it before they can name it.
How to Apply It with Real-World Values
Drive your lights with photometric units, not arbitrary multipliers. CG Lounge's calibrated lighting guide defines the core quantities you need:
- Luminous flux in lumens measures total output; a 100W incandescent bulb emits about 1,690 lumens.
- Luminous intensity in candela measures output per solid angle; a candle flame is roughly 1 cd.
- Illuminance in lux measures light arriving at a surface; 1 lux equals 1 lumen per square meter.
- Luminance in cd/m2 measures light emitted or reflected per unit area.
V-Ray accepts lux, lumens, and candela directly, while Arnold and RenderMan rely on arbitrary intensity values. A forum thread on the OTOY Render forum makes the practical point:
A 9W LED and a 9W filament bulb produce very different amounts of light, so manufacturers publish lumens and lux instead of wattage.
Set your key light to a measured lux value, match color temperature to the fixture spec, and check the result against a photo of the real room. Studios like 12 DESIGN validate lighting against site photos before sign-off, and you can see the standard at www.12design12.com.
Tip 4: Match Real-World Wear and Imperfections
Add Subtle Scuffs, Dust, and Finish Variation
Real surfaces carry evidence of their own existence. Brushed aluminum shows micro-scratches from manufacturing. Injection-molded plastic holds a faint texture from the mold. A glass screen keeps the remnants of handling. Your arcade render needs that same evidence. Layer imperfection maps over the base material: subtle roughness variation, micro-scratch overlays, and very faint grunge. Keep each layer barely noticeable at normal viewing distance. The goal is a physically plausible cabinet, not a distressed one.
| Surface Type | Common Mistake | What to Add |
|---|---|---|
| Polished metal | Uniform reflectivity across the whole surface | Subtle roughness variation, micro-scratch overlay |
| Matte plastic | Flat, even roughness with no variation | Slight gloss variation, surface texture bump |
| Glass / acrylic | Perfectly clean, no surface character | Very faint smudge or edge dust map |
| Painted surface | Perfectly even finish | Subtle orange peel texture in specular channel |
Why Perfection Reads as Fake
A fake-looking render rarely comes from one catastrophic error. It comes from several small shortcuts stacked together. The HDRI was never oriented. The roughness was estimated instead of referenced. The imperfection maps were skipped. Stack four small problems, and you get a render the client rejects without knowing why. 360Render makes this point directly: when a render reads as photographic, it is because everything behaves consistently. Shadow softness matches light source size. Material values stay physically plausible. Imperfections appear where they belong.
How to Apply Wear Without Overdoing It
Apply wear with restraint and intent. DesignBlendz offers a practical set of techniques:
- Use specular maps to indicate realistic gloss and small imperfections, even on uniform surfaces like polished metal.
- Avoid perfectionism. Add scratches, smudges, and signs of wear, but do not cover too many of them.
- Add asymmetry. Perfect symmetry is unrealistic, and the human eye spots it fast.
- Bevel most edges. Sharp edges are a dead giveaway, and real objects always carry a slight round.
Studios like 12 DESIGN build these checks into their review loop before sign-off. You can see the standard at www.12design12.com.
Tip 5: Validate with Physical Mockups and Iteration
Build Small-Scale and Full-Size Test Pieces
You cannot trust a render alone. Build a physical piece and hold it in your hands. CAD Blu lists the checks a mockup answers: concept validation, form and fit, appearance and ergonomics, functional testing, tolerance verification, and pre-production evaluation. Start small. Shapr3D notes that cardboard mockups let you think in three dimensions fast, and 3D-printed parts check ratios and dimensions at low cost. Move to full size once the details hold. Shapr3D describes teams that trace CAD outlines and laser-cut each layer from cardboard at 1:1 scale. That step exposes proportion errors a screen hides.
Why Side-by-Side Comparison Catches Drift
Drift happens slowly. Each small render tweak looks fine on its own. Place the mockup next to the render, and the gap appears. Shapr3D reports that designers often produce dozens to over 100 versions during validation. That volume only helps when you compare against a physical reference. A caliper check on a printed part catches a tolerance error that a viewport never shows. Side-by-side review keeps your material, joinery, and lighting decisions honest.
How to Apply an Iterative Compare-and-Correct Loop
Run a tight loop. LKKERSCM outlines the workflow:
- Model the design in CAD with clear dimensions, interfaces, and clearances.
- Prepare the file with correct orientation, supports, and infill.
- Print the part and post-process it.
- Inspect dimensions, ergonomics, and fit against the render.
- Revise the CAD file and repeat.
Shapr3D adds one more step: bring the mockup to your manufacturer. A physical model eases visualization and surfaces discussion points early. Firms like 12 DESIGN run this compare-and-correct cycle before sign-off, and you can see the standard at www.12design12.com. 12 DESIGN applies the same loop to reach 99% construction fidelity on projects like YUME WORLD.
These five tips form one build-fidelity workflow. Materials and joinery define the build. Lighting and wear define its life. Mockups keep both honest.
Matching reality starts with designing the build, not polishing the render. Treat every arcade design decision as a construction decision first.
Validate each choice against physical reference before you finalize. Firms like 12 DESIGN run this loop to reach 99% construction fidelity on projects like YUME WORLD.
FAQ
How do you keep material values accurate across a whole arcade project?
Build a shared material library from physical samples. Measure gloss, grain, and finish once. Then lock those values for every modeler on the team. Firms like 12 DESIGN treat this library as a construction document, not a render preset.
What is the fastest way to check lighting fidelity?
Compare your render against a site photo under the same fixture mix. Match lux values and color temperature to the real spec. If the highlights land in the wrong place, your light positions are wrong.
Do you need full-size mockups for every arcade cabinet?
No. Start with small-scale or cardboard pieces to test proportion and fit. Move to full size only for high-risk details. This staged loop keeps cost down and catches drift early. You can see how 12 DESIGN applies it at www.12design12.com.
See Also
Avoid Making Incorrect Aluminum Casting Process Choices Ever Again
12design12.com
12DESIGN
